Overview
AgentPine is a powerful assistant platform that allows you to integrate intelligent automation into your application using a customizable widget. This overview will guide you through the onboarding process, from registering your app to embedding the script into your frontend.
New to AgentPine?Visit our main website or read our or read our API docs to explore full capabilities.
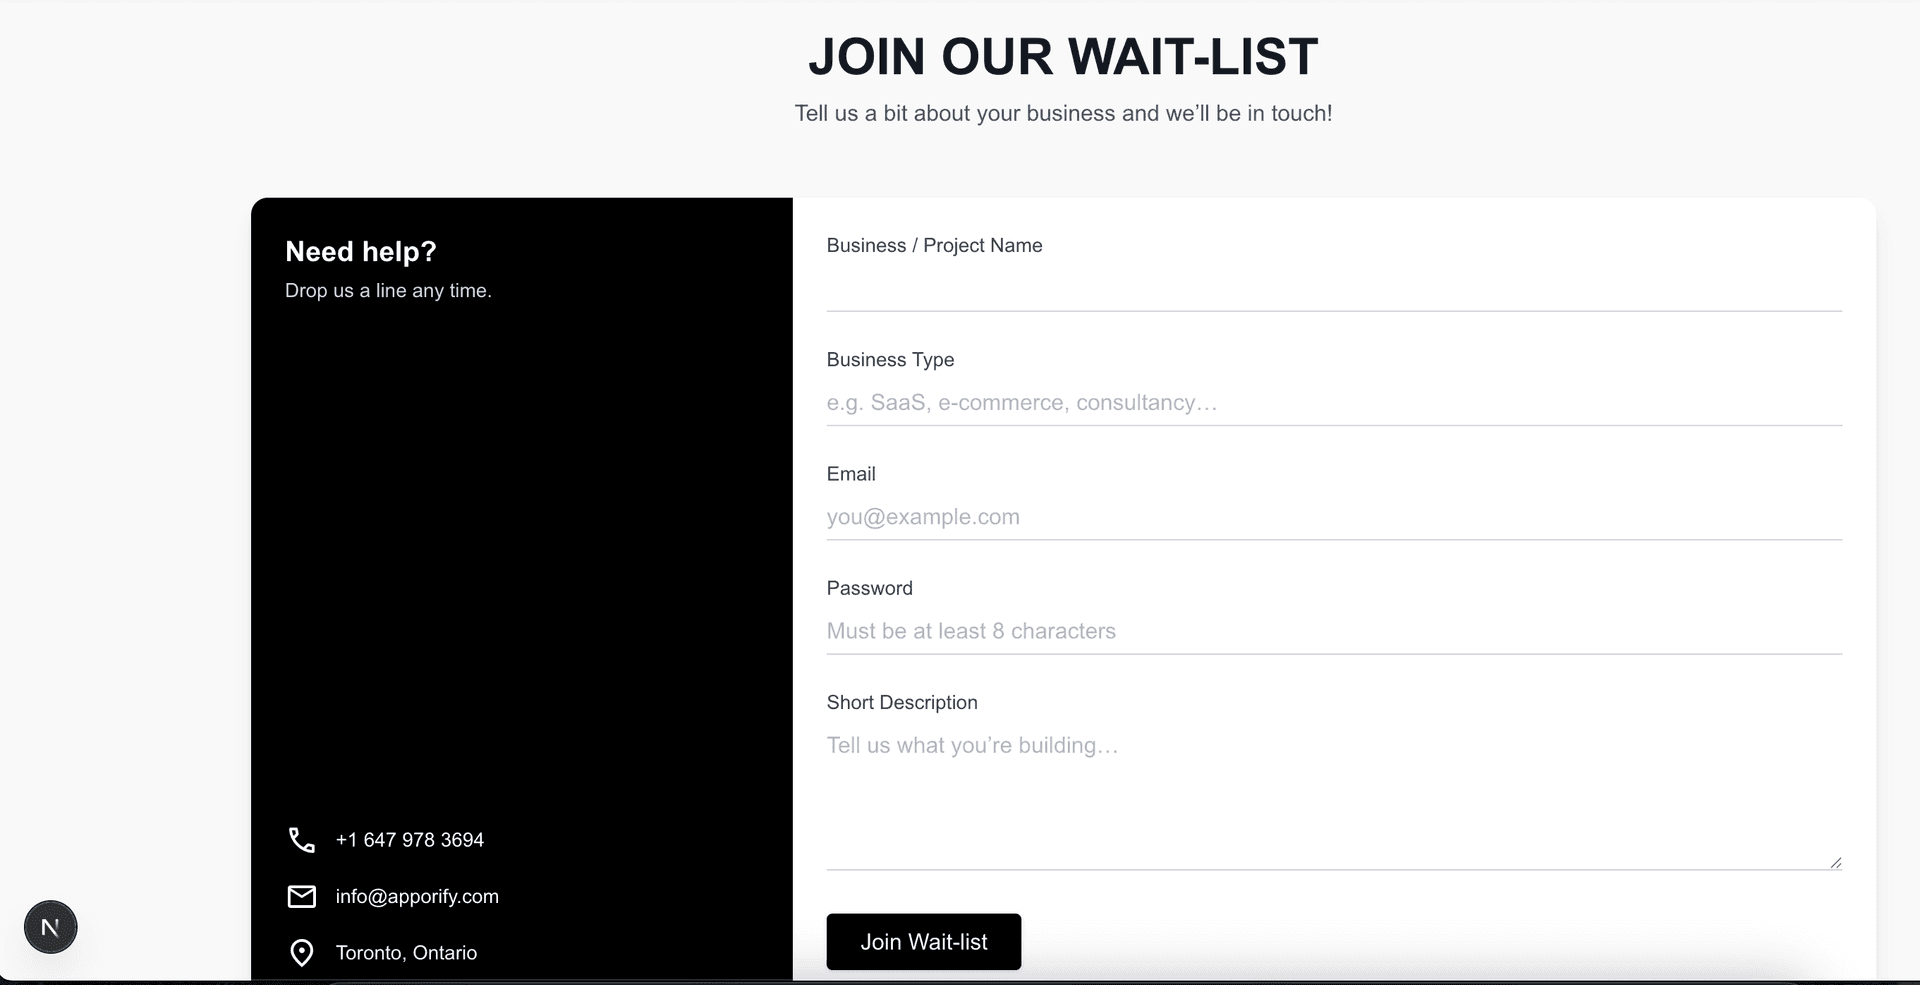
📝 Step 1: Join the Waitlist
Begin by registering your application on the waitlist page. Once registered, you'll receive a unique token that identifies your app and allows secure interaction with the AgentPine services.
Join the Waitlist
🎨 Step 2: Configure Theme & Business Settings
After registration, head to the Business Configuration panel. This section allows you to set your preferred color themes, fonts, and logic for the AgentPine widget. Tailor the assistant experience to match your brand. Refer to the Style Guide for advanced customization tips.
Configure Business
📦 Step 3: Embed the Script
Finally, copy and paste the following script snippet into your application’s HTML (usually within the <head> or right before the closing</body> tag). This script will load the AgentPine widget and connect it to your configuration. Make sure to use the token you received during registration.
<script src="http://localhost:9001/loader.js" data-agentpine-access="app_token_.....isWp1L4DP..." defer></script>✅ You're All Set!
- Step 1: Register and obtain your secure token via the waitlist.
- Step 2: Set your brand and logic using the business configuration settings.
- Step 3: Integrate the widget by embedding the AgentPine loader script.
- Once integrated, AgentPine becomes your automated assistant—ready to engage users intelligently.